How to Create an Blog Post Using Next.js 14 with the New App Router + MDX + TailwindCSS
This guide will walk you through setting up a blog using Next.js 14 with the new App Router and MDX. Whether you’re just starting out or have experience, you’ll find everything you need to get your blog up and running smoothly.
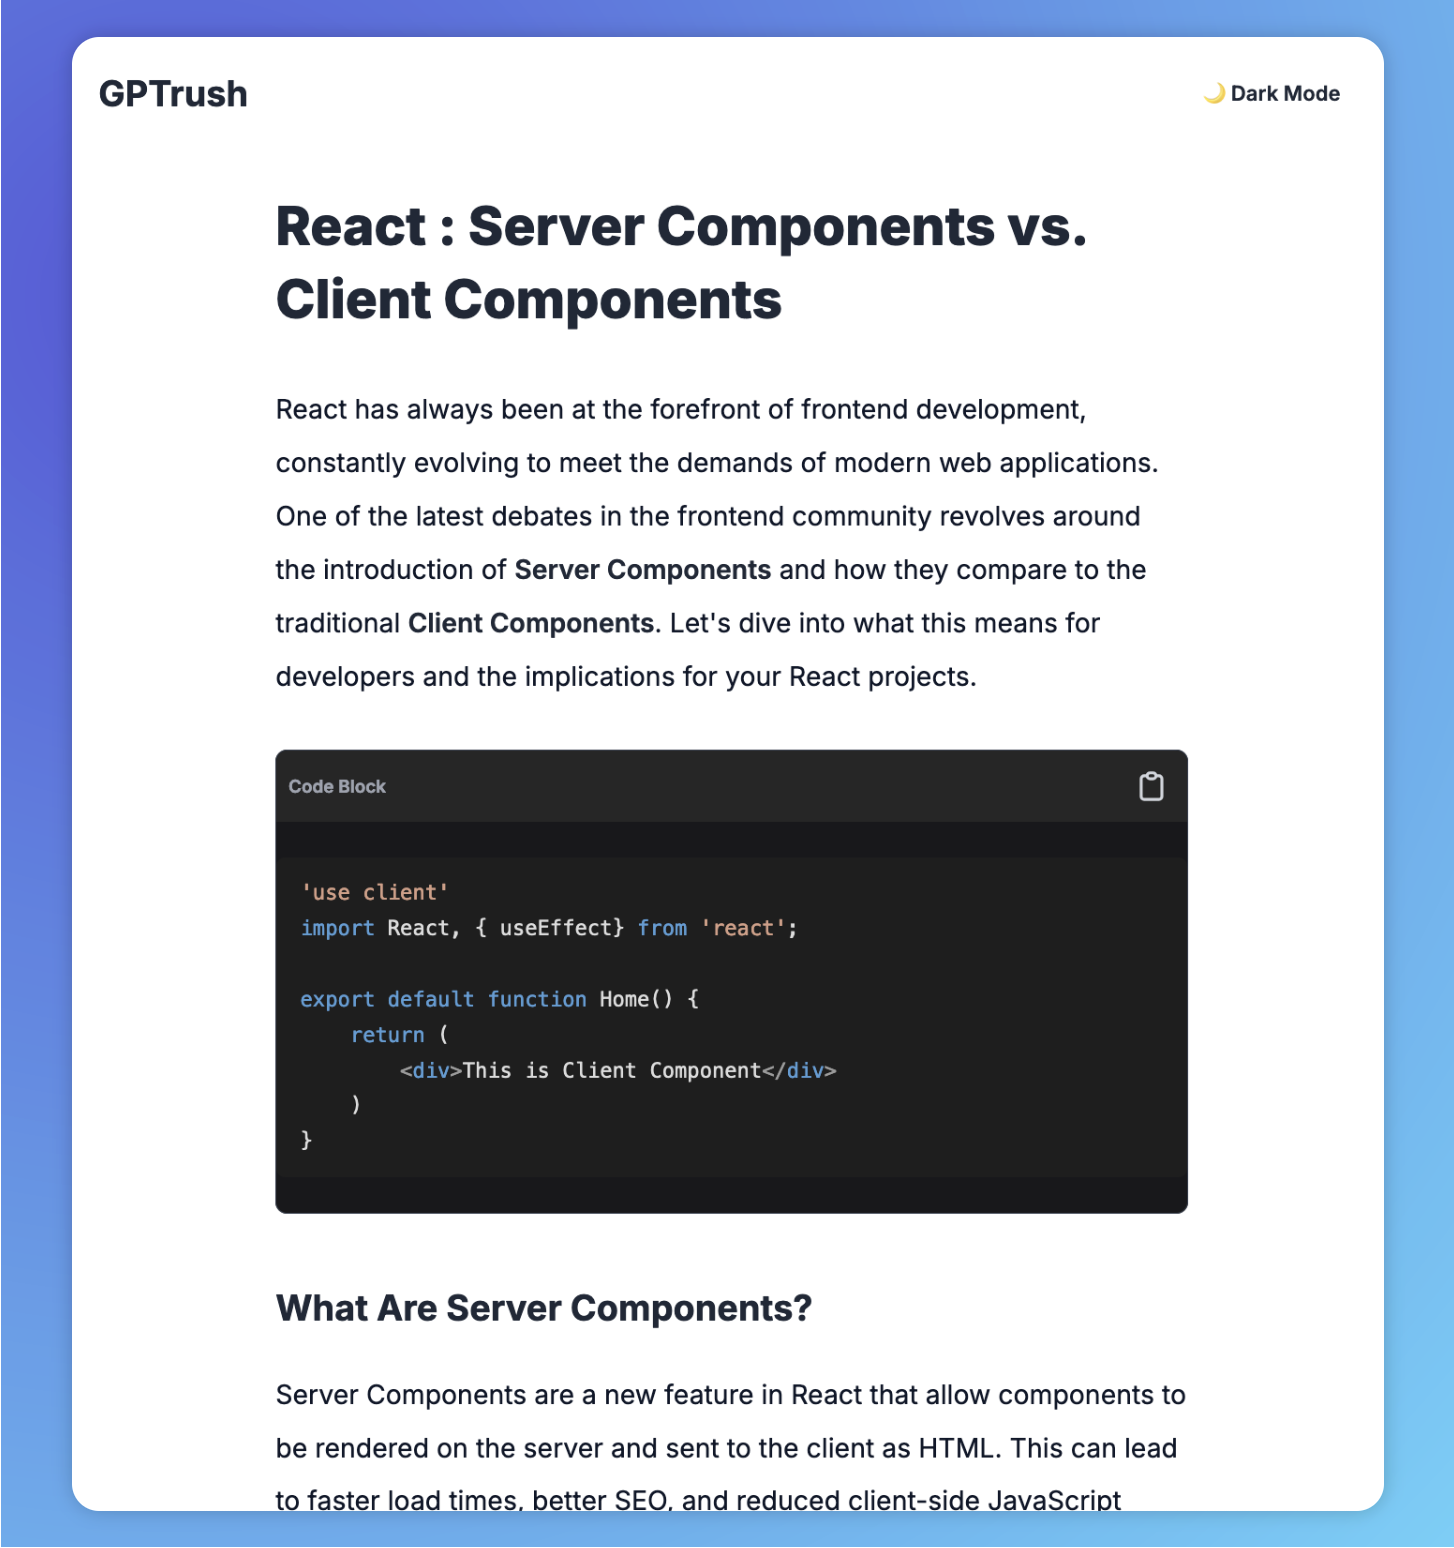
Follow along, and by the end, your blog will look just like the preview below 👇
Getting Started: Setting Up Your Next.js 14 Project
First, let's set up a new Next.js 14 project.
Step 1: Install Next.js 14
Start by installing Next.js 14 using the following command:
npx create-next-app@latest my-nextjs-blog
cd my-nextjs-blog
This command sets up a new Next.js project with the latest version.
Step 2: Install Required Packages
For MDX support, you'll need @next/mdx:
npm install @next/mdx @mdx-js/loader @mdx-js/react @types/mdx
Step 3: Configuring the New App Router with MDX
Next.js 14 introduces a new App Router that simplifies routing and enhances performance.
Ensure your next.config.mjs includes the MDX configuration:
import createMDX from '@next/mdx'
/** @type {import('next').NextConfig} */
const nextConfig = {
    pageExtensions: ['js', 'jsx', 'md', 'mdx', 'ts', 'tsx'],
};

const withMDX = createMDX({
    // Add markdown plugins here, as desired
  })

// Merge MDX config with Next.js config
export default withMDX(nextConfig)
Add an mdx-components.js file in the root of your project to define global MDX Components.
export function useMDXComponents(components) {
    return {
      ...components,
    }
  }
Create a Blog Post page :
Navigate to your app folder and set up the new blog structure:
my-nextjs-blog
│
├── app
│   ├── layout.js
│   ├── page.js
│   └── blog
│       └── page.js
├── public
├── styles
├── package.json
└── next.config.js
Write Your First MDX Content , by adding /blogs/first.mdx :
# The Stack

This blog is a [Next.js](https://nextjs.org) application.

With Next, you have a few different options when it comes to page rendering: you can choose to do it "on-demand" (server-side rendering) or ahead of time (static site generation). I've opted to build all the blog posts ahead of time, when the site is generated.

I also use Next's [API Routes](https://nextjs.org/docs/api-routes/introduction) for things that require persistence in the backend. I use [MongoDB](https://www.mongodb.com) as my database, to store stuff like the # of likes each post has.

I deploy this blog on [Vercel](https://vercel.com). I initially chose them because they're the company behind Next.js, and I figured it would be well-optimized. Honestly, their platform is awesome. I wound up moving some of my non-Next projects there as well.

When it comes to the styling, I use [styled-components](https://styled-components.com), and write all the styles from scratch. I don't use any "cosmetic" libraries like Bootstrap (and I don't think you should either). I do use [Reach UI](https://reach.tech) for things like modals, though.
Step 3: Add the following code to app/blog/page.js:
'use client'
import Welcome from '~/blogs/first.mdx'

export default function BlogPost({ source }) {
  return (
    <div>
      <Welcome />
    </div>
  );
}
Styling : Tailwind CSS Typography plugin
Tailwind CSS Typography plugin provides a set of prose classes you can use to add beautiful typographic defaults to any vanilla HTML you don’t control, like HTML rendered from Markdown, or pulled from a CMS.
Step 1 : Install the plugin from npm:
npm install -D @tailwindcss/typography
Step 2 : Add the plugin to your tailwind.config.js
/** @type {import('tailwindcss').Config} */
module.exports = {
  theme: {
    // ...
  },
  plugins: [
    require('@tailwindcss/typography'),
    // ...
  ],
}
Step 3 : Apply Typography styling
export default function BlogPost({ source }) {
  return (
    <div className="min-h-screen bg-base-100 text-base-content transition-colors duration-300">
      <header className="flex justify-between items-center p-5 max-w-4xl mx-auto">
        <h1 className="text-2xl font-bold">Company Name</h1>
      </header>
      <main className="prose prose-p:text-slate-900 prose-p:text-lg prose-h1:leading-snug prose-p:leading-loose prose-a:text-blue-600 mx-auto p-5">
            <Welcome />
      </main>
    </div>
  );
}
We have added :
- Margins: mx-auto is added to horizontally center the element within its container.
- Paragraph and Headings Styling : We can customize our paragraphs using
prose-p:, similarly for headingsprose-h1 - Hyperling Styling : By default hyperlink in mdx dosen't have colour so we can add color using
prose-a:text-blue-600
Conclusion
You've now set up a fully functional blog using Next.js 14, the new App Router, and MDX. By following these steps, you're not just creating content; you're creating a dynamic, responsive, and discoverable web experience.
Happy blogging with Next.js 14 and MDX!